How to Set Up Surround Sound at Home (Step by Step)
What You'll Need Before You Start
Before setting up surround sound, assemble the following:
- An AV receiver (see our best AV receivers guide)
- Speaker package — typically 5.1 (front left/right, centre, two rears, subwoofer)
- Speaker cable — typically 2–4 metres for front speakers, 5–10 metres for rears
- HDMI cable (HDMI 2.1 recommended for 4K/120Hz)
- Measuring tape and the setup microphone (usually included with the receiver)
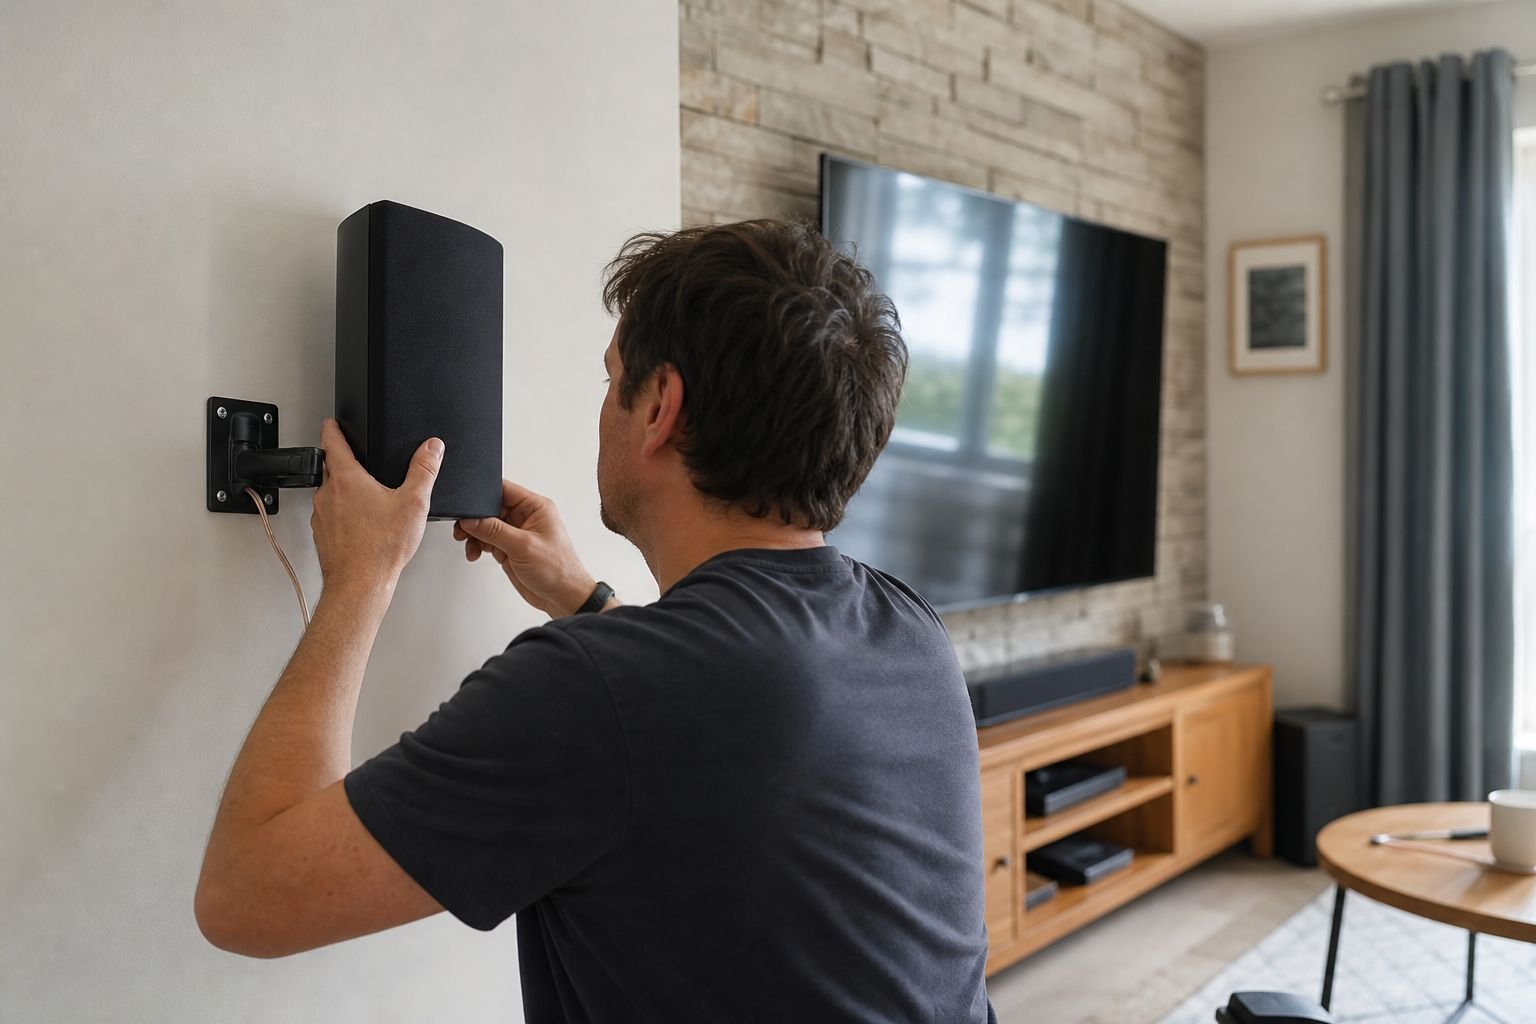
Step 1: Position Your Speakers
Speaker placement is the single most important factor in surround sound quality — and the step most people rush. Follow these guidelines for a 5.1 system:
- Front left and right — 22–30° to the left and right of the centre listening position, equidistant from the TV. Ideally at ear height when seated.
- Centre speaker — directly above or below the TV, angled toward the listening position. Responsible for dialogue — placement here is critical.
- Rear surround left and right — 90–120° to the side of the listening position. Can be slightly behind the sofa for a 5.1 setup; further back (135–150°) for 7.1.
- Subwoofer — less placement-sensitive than other speakers; try the corner of the room for maximum bass, or along the front wall. Experiment to find the smoothest bass response.
Quick Tip: The Subwoofer Crawl
To find the best subwoofer position: place it temporarily in your listening seat, play some bass-heavy content, then crawl around the room's perimeter listening for the smoothest, most even bass. Wherever you hear the best bass response is where the subwoofer should go. This works because room modes (bass resonances) are symmetrical — what sounds good at the perimeter sounds good from that position in the room.
Step 2: Run the Speaker Cables
For front speakers, cable runs are typically short and manageable. Rear speakers are the challenge in a typical UK living room. Your options:
- Run cables under the carpet — most effective and invisible solution. Lift the carpet edge along the skirting board, lay flat speaker cable, replace the carpet. £20 of cable and an hour's work.
- Use cable trunking — white or wood-effect plastic trunking along the skirting board. Clean result without carpet lifting. ~£30 from any DIY store.
- Wireless rear speakers — some receivers (Denon HEOS Link, Yamaha MusicCast) support wireless rear speakers. Premium option but eliminates all cable runs.
- Consider a soundbar with wireless rears — if cable runs are prohibitive, a soundbar system with wireless rear add-ons may be more practical than a full separates installation.
Step 3: Connect the AV Receiver
- Connect all speaker cables to the receiver — red (positive) to red, black (negative) to black. Labelled outputs on the receiver correspond to speaker positions (FL, FR, C, SL, SR, SW).
- Connect your TV to the receiver via HDMI ARC or eARC (look for the port labelled "ARC" or "eARC" on the TV).
- Connect other source devices (Blu-ray player, games console, streaming device) directly to the receiver's HDMI inputs, not to the TV.
- Connect the receiver to your home network via ethernet (preferred) or Wi-Fi for streaming functionality.
Step 4: Run the Room Calibration
Most modern AV receivers include an automatic room calibration system — Audyssey (Denon/Marantz), YPAO (Yamaha), or MCACC (Pioneer). Run this before doing anything else:
- Place the included calibration microphone at the main listening position (ear height when seated)
- Follow the on-screen setup wizard — typically takes 5–10 minutes
- The receiver will play test tones from each speaker, measure the response, and automatically adjust levels, distances, and EQ
- Accept the calibration results unless you have specific reasons to override them
Room calibration typically makes a dramatic improvement to bass response and improves the sense of surround envelopment. Don't skip it.
Step 5: Set Your TV's Audio Output
Your TV needs to be configured to pass audio to the receiver rather than using its own speakers:
- In your TV's audio settings, set audio output to "ARC" or "External Speakers"
- Enable eARC if available (better quality than standard ARC)
- If using Dolby Atmos, enable "Dolby Atmos output" or "Bitstream" mode on both the TV and streaming apps
- Disable TV speakers once the receiver is handling audio
Troubleshooting Common Problems
- No sound from rear speakers — check cable connections at both the receiver and speaker terminals. Confirm the source signal contains surround channels (stereo content won't use rears unless Pro Logic processing is enabled).
- Dialogue is quiet — increase the centre channel level by +2–4dB in the receiver's speaker level settings. Centre channel level directly controls dialogue intelligibility.
- Too much bass — reduce the subwoofer level by 3dB at the receiver, or use the subwoofer's own volume control.
- No Dolby Atmos signal — verify eARC is enabled on both TV and receiver; check that the streaming app's audio settings are set to "Dolby Atmos" or "Best Quality".
Content is for informational purposes only. Product availability and features may vary.